Hiking at Elm + Mountain Carts
My husband took the day off from work so we decided to head to Elm, a small resort in canton Glarus, to do some hiking and, of course to ride down the mountain on a mountain cart.
Detail Summary| Location: | Elm Sportbahn Obmoos, 8767, Switzerland |
| Car: | Zurich – > Elm Sportbahn – 1 hr 20 min |
| Train/Bus: | Zurich HB -> Elm Sportbahn – 1 hr 50 min |
| Cost 2020: | Gondola Elm -> Ämpächli + Mountain Cart Adult/24 CHF, Child/16 CHF |
| Safety Notes: | For the mountain carts, children need to be 12 years old and at least 140 cm tall. Scooters are also available and can be ridden alone by children age 9 and up. Younger children can share a scooter with a parent. Helmets are included with the scooter and mountain car rental. |
For hiking, Elm has a fun easy trail telling the story of the local giant (Reisenwald trail) which we had done before. We thought about just doing that trail again, but we decided we wanted to try a more challenging hike this time. Our original plan was to hike the Chüebodensee round tour. This trail turned out to be too challenging. I was hiking so slowly my kids were afraid we wouldn’t get back in time to do the mountain carts (last gondola down is at 17:00 but cart pick-up ends earlier at 16:30), so we decided to turn around before we reached the top. The good news is, the views were stunning and we got back in plenty of time to mountain cart down. This post is a look at what we did.
Getting There
The Elm Sportbahnen gondola is easily reached by public transportation or by car. By public transport, there is a bus stop (Elm Sportbahne) directly at the gondola. When driving, there is a parking lot across the street from the gondola. A second overflow parking area is located about 500 meters further down the road.
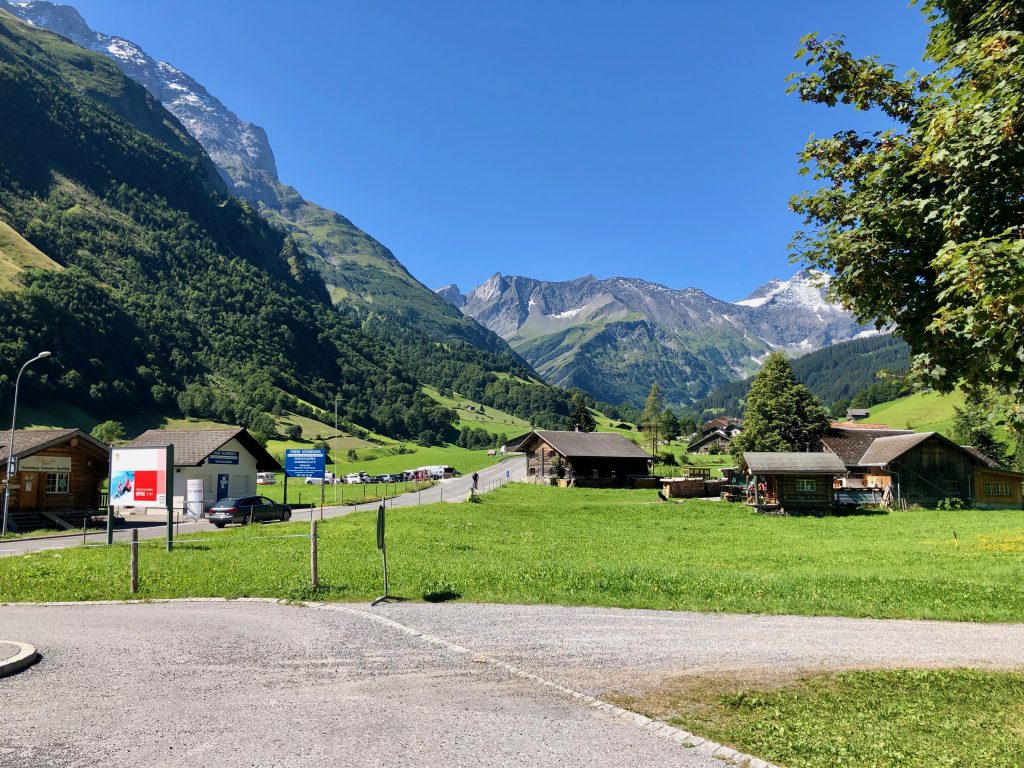
A look back at the overflow parking lot from the gondola 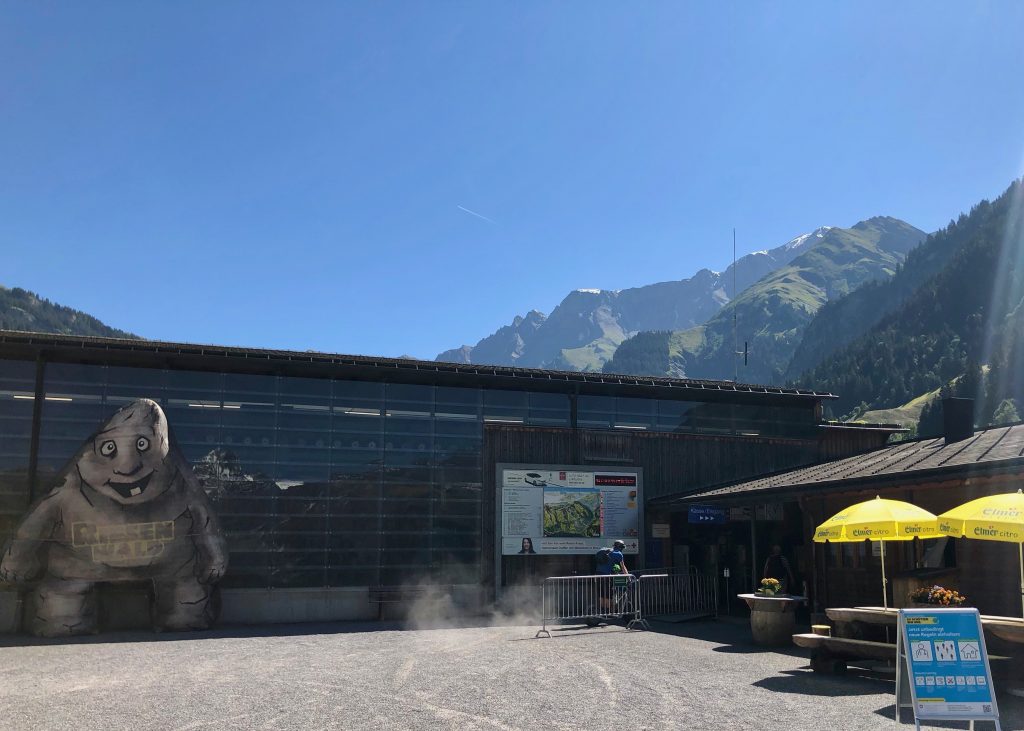
Gondola base station
We were certain we wanted to end our day riding the mountain cart down, so we purchased a combo ticket for a gondola ride up to Ämpächli and single cart ride down.
Upper Half of the Reisenwald Trail
After getting off the gondola at Ämpächli, we walk walked past the restaurant, playground and trampolines and across the field. There are lower and upper paths across the field and we chose the upper path. Both take you to the Reisenwald trail but if you want to follow the story from beginning to end you should take the lower path. We were skipping the activities and story of the path and just hiking through.
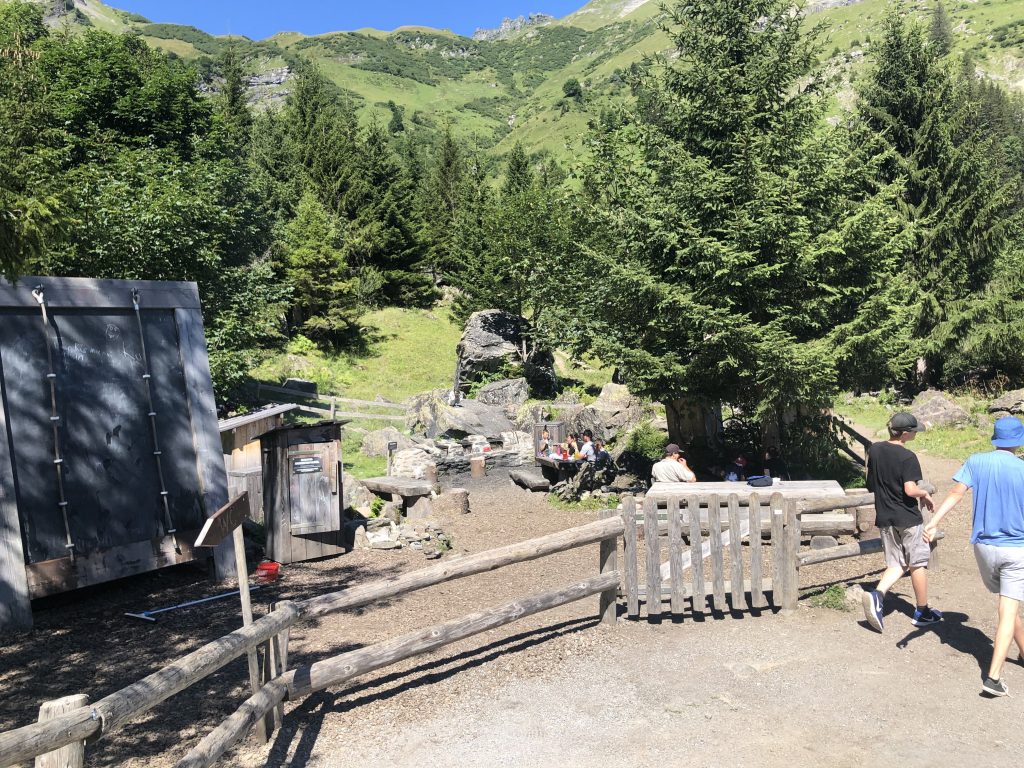
The Reisenwald trail is a loop and at the far end of the loop is a playground, picnic tables and toilet. Here is also where the Reisenwald trail and the Chüebodensee trail connect.
Hiking Up and Down a Portion of the Chüebodensee Trail
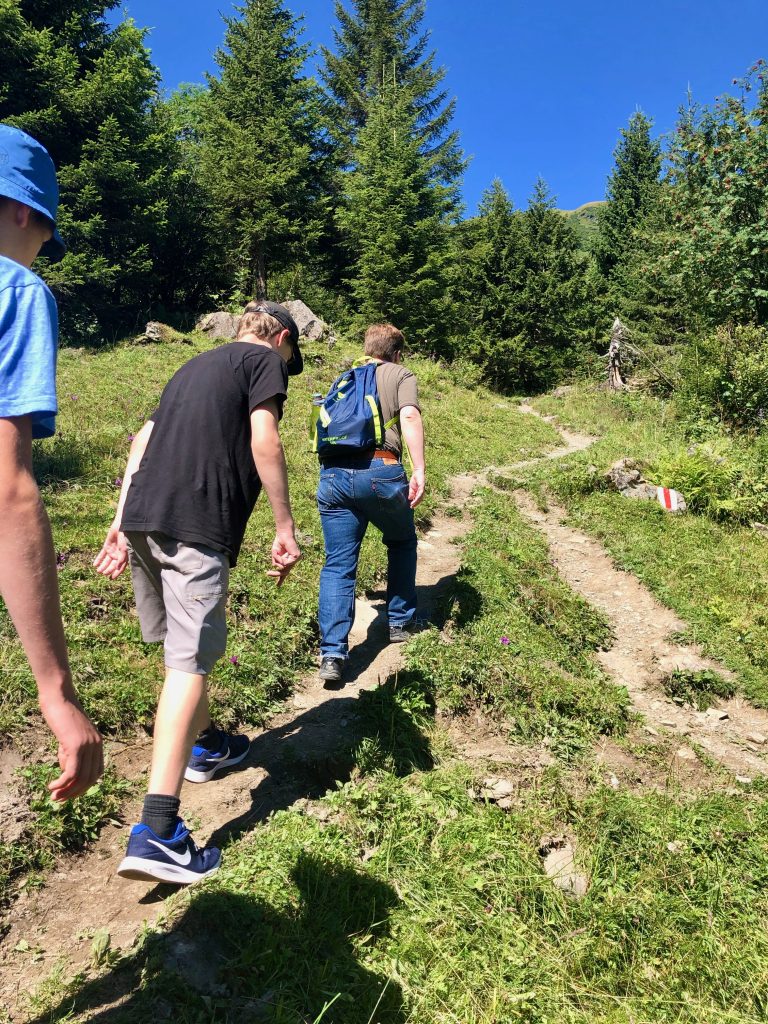
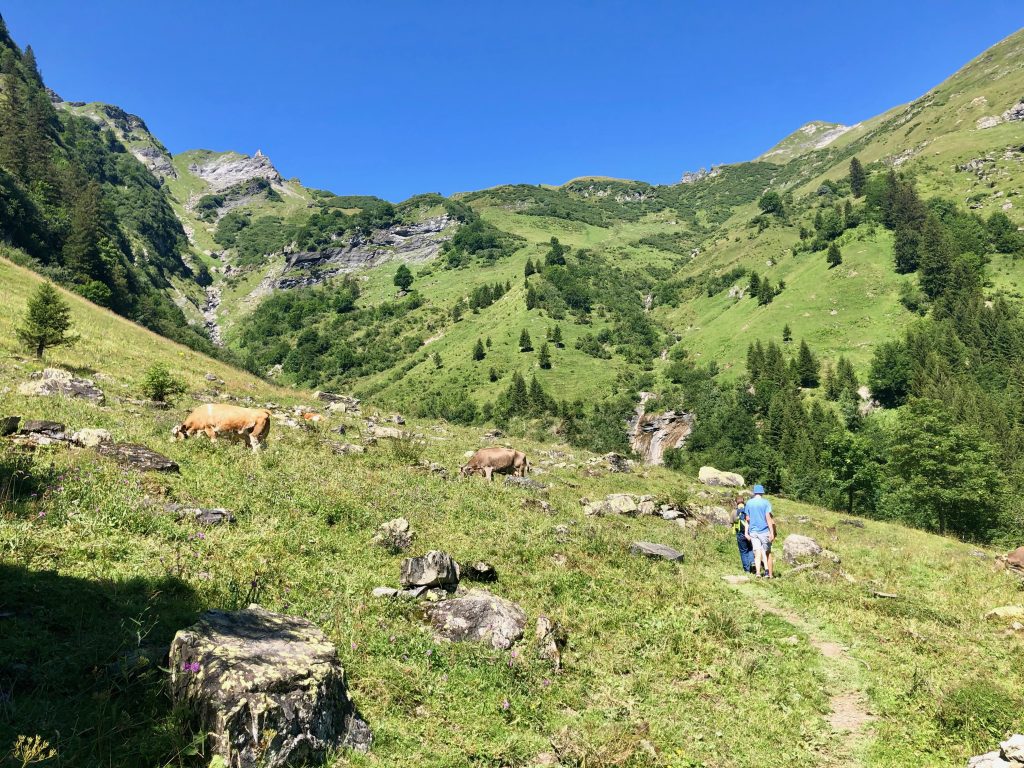
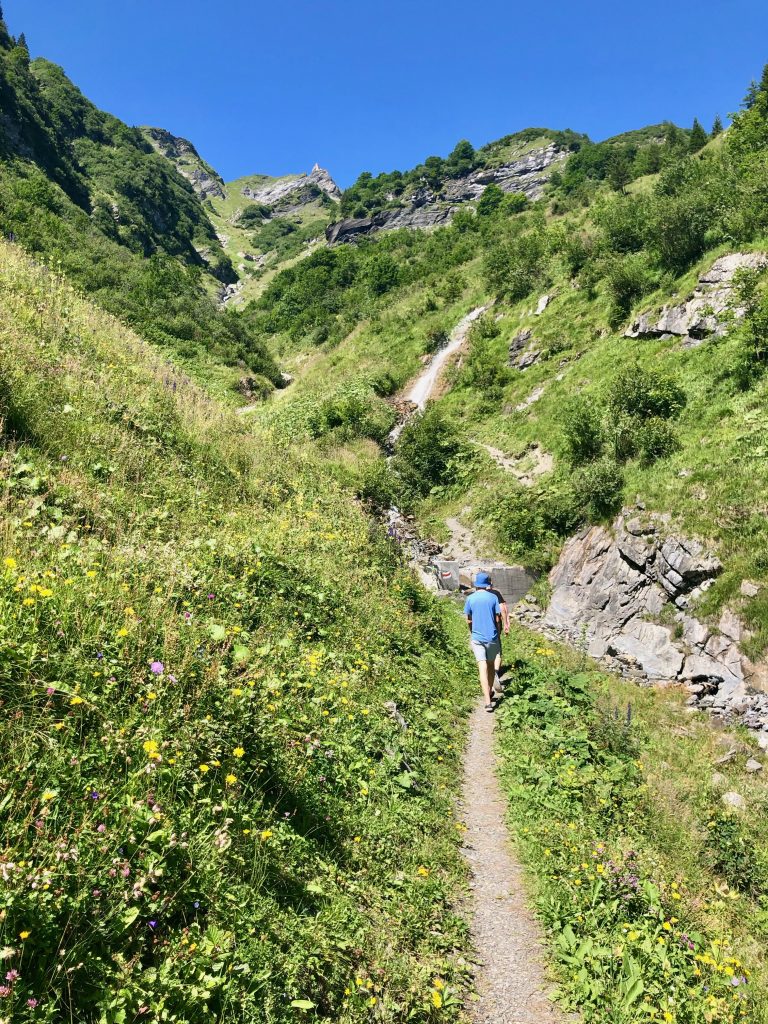
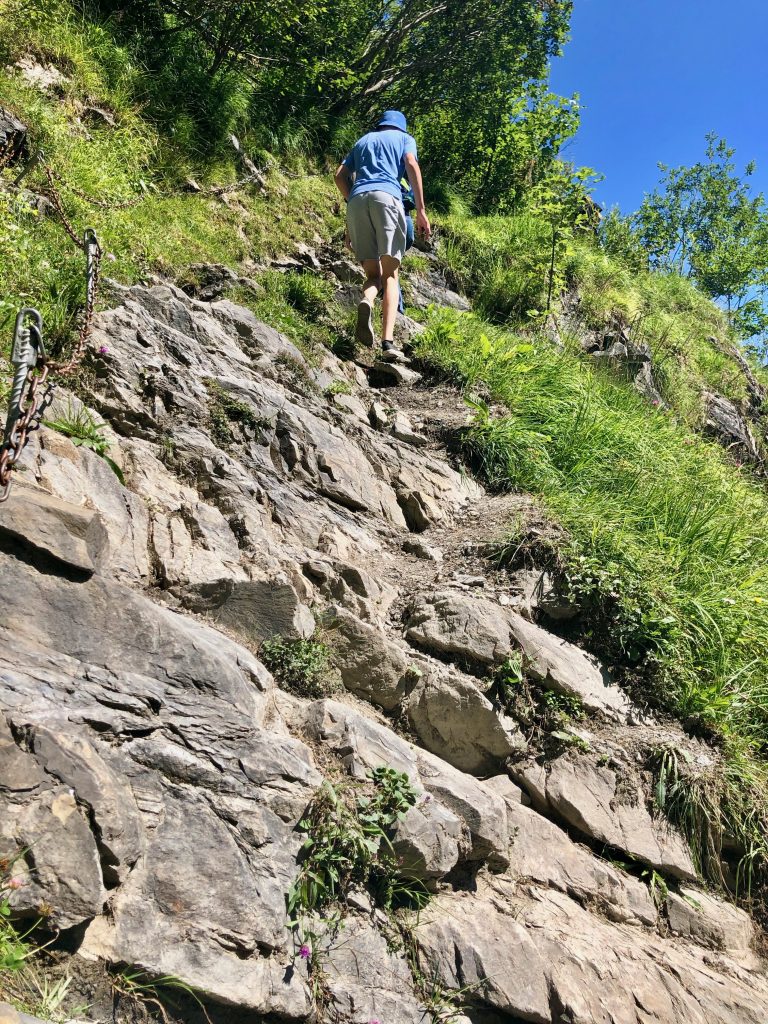
The Chüebodensee trail is a red and white mountain trail. It started perfectly well traversing through alpine cow pastures and then traveling along a small stream. We crossed the stream on a small plank bridge and this is where the trail became rather challenging. It started with a steep scramble up rocks – there is a chain there to help you climb up.
And then from there on out, the hike was all altitude climb with many steep switch backs.
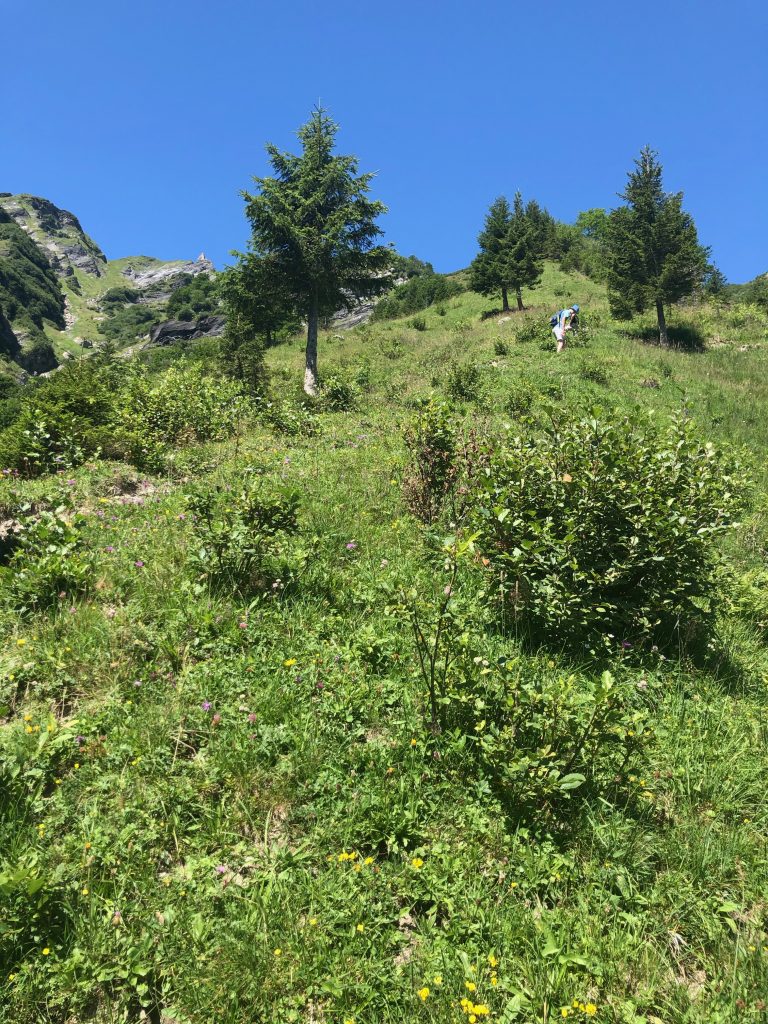
Walking up 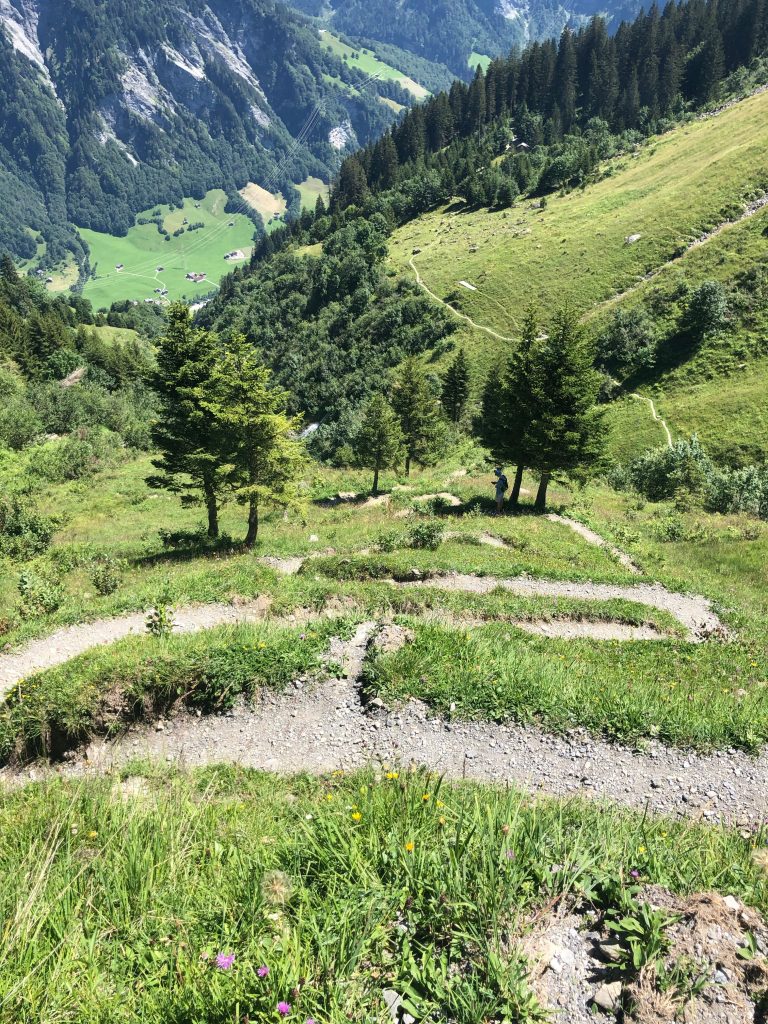
Looking down at switchbacks 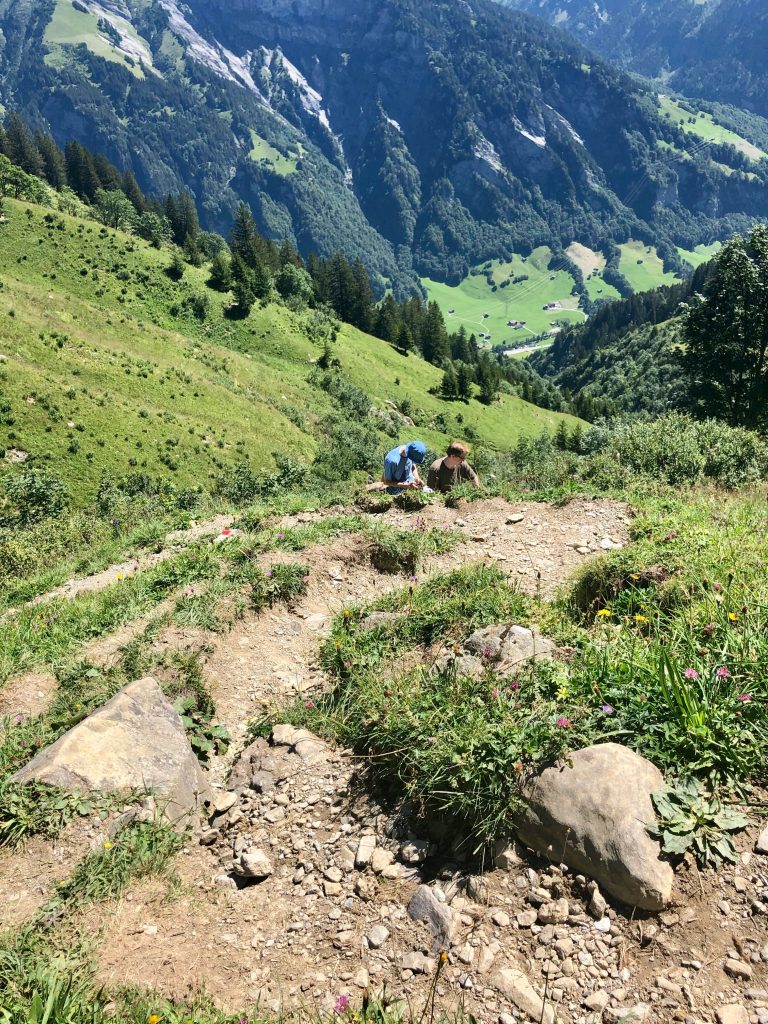
More switchbacks 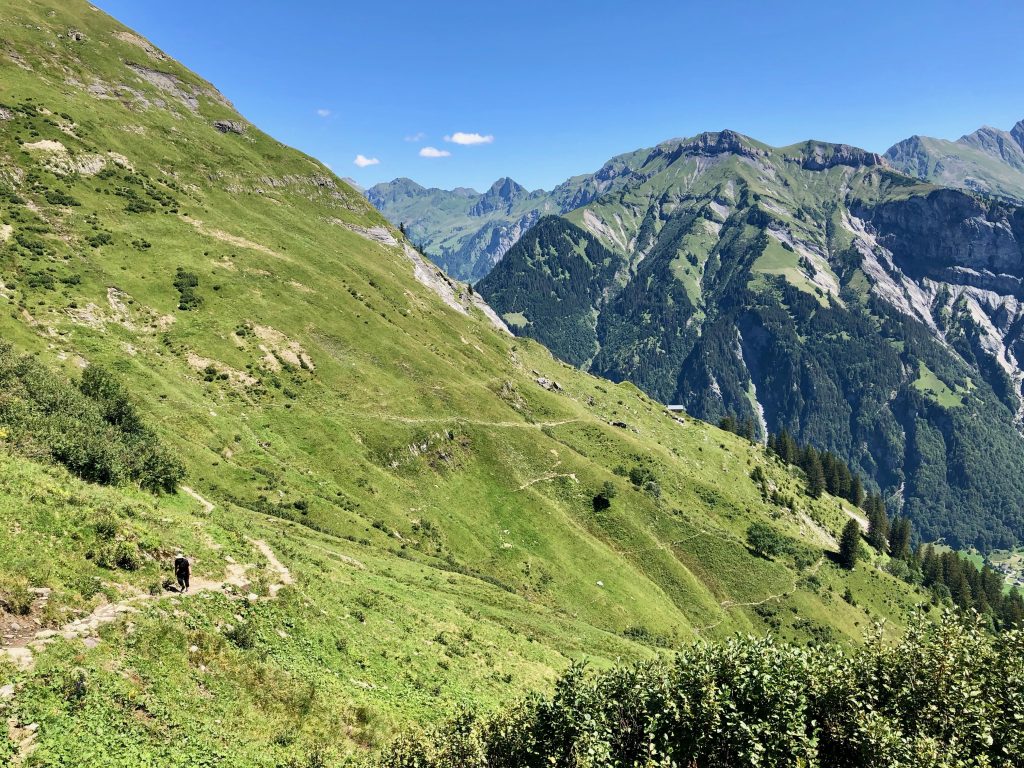
More walking up
The map and signs said it was about two hours up to the Chüebodensee, but after an hour and half the ridge was still pretty far above us. When we reached a small plateau with some large rocks to sit on, we decided to stop, rest, and have a picnic with the snacks and drinks we brought.
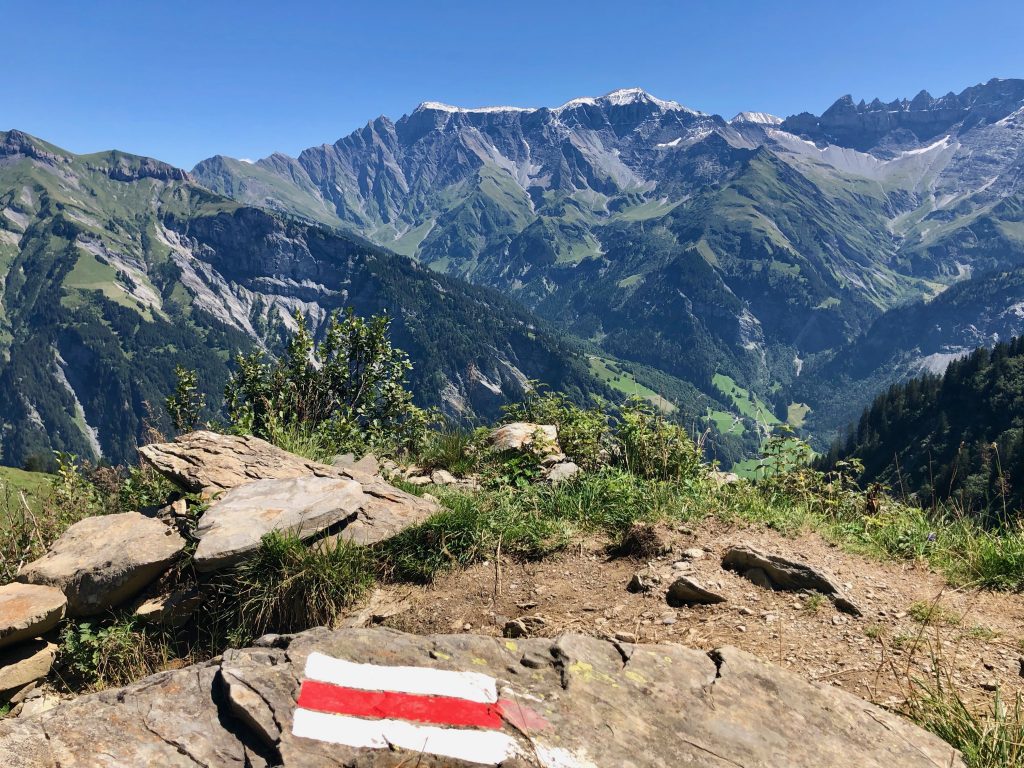
Our picnic view
Looking at the time and calculating how far we had to go at the rate I was going, I agreed with my kids. If we continued on we would not make it back in time for the mountain carts. After cleaning up our picnic, we headed back the way we came.
Lower-half of the Reisenwald Trail
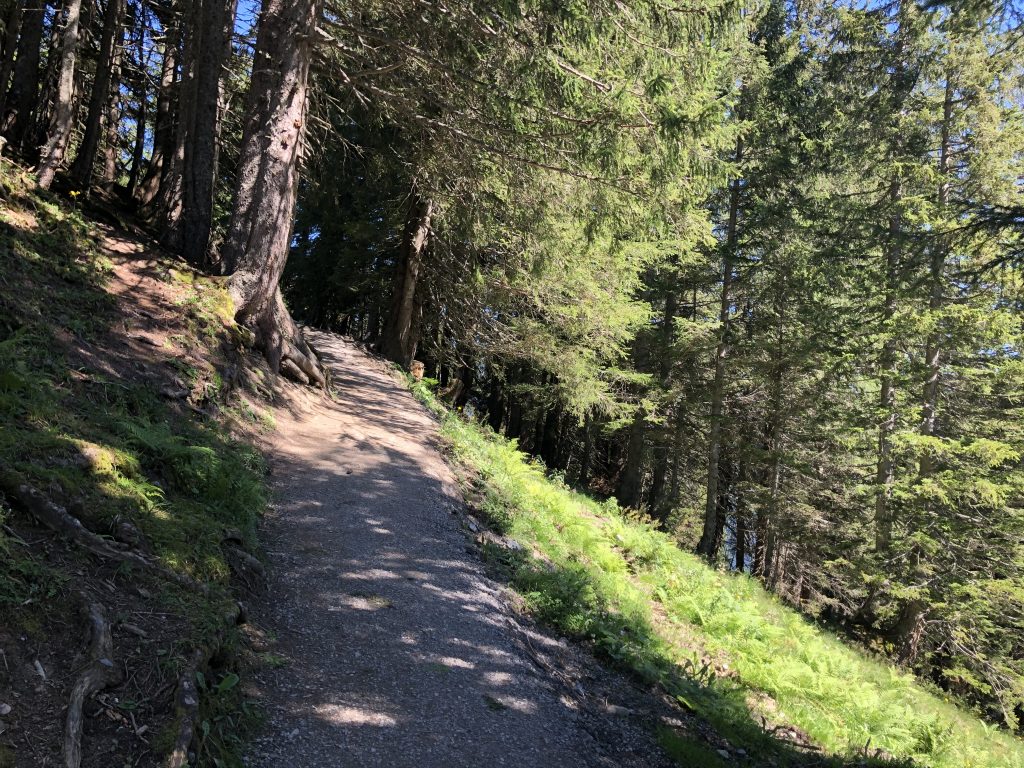
When the trail met up again with the Reisenwald trail at the play area, we decided to take the lower-half of the Reisenwald trail back rather than retracing out steps. This path winds through the forest providing a nice break from the sun.
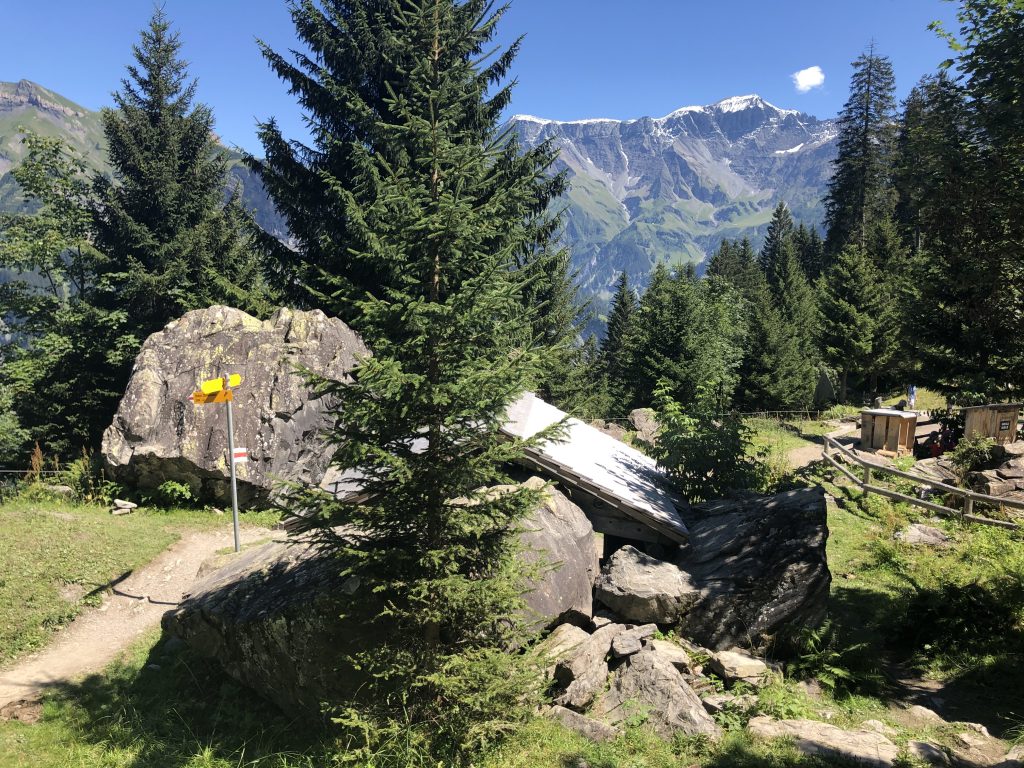
Play area 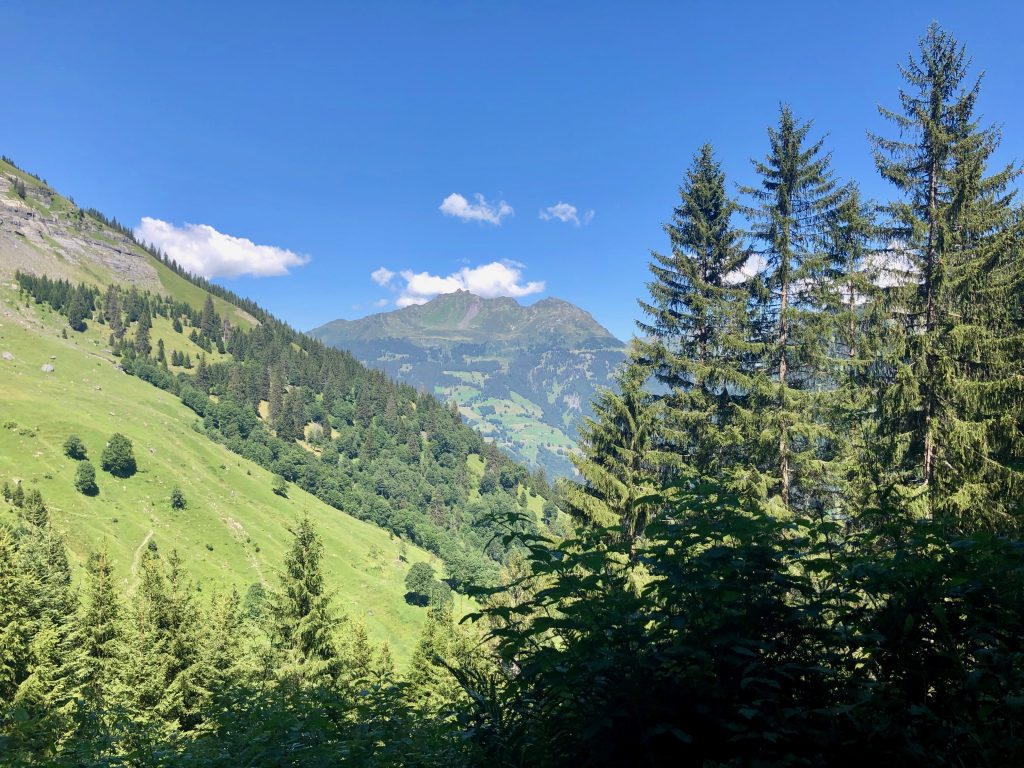
View through the trees 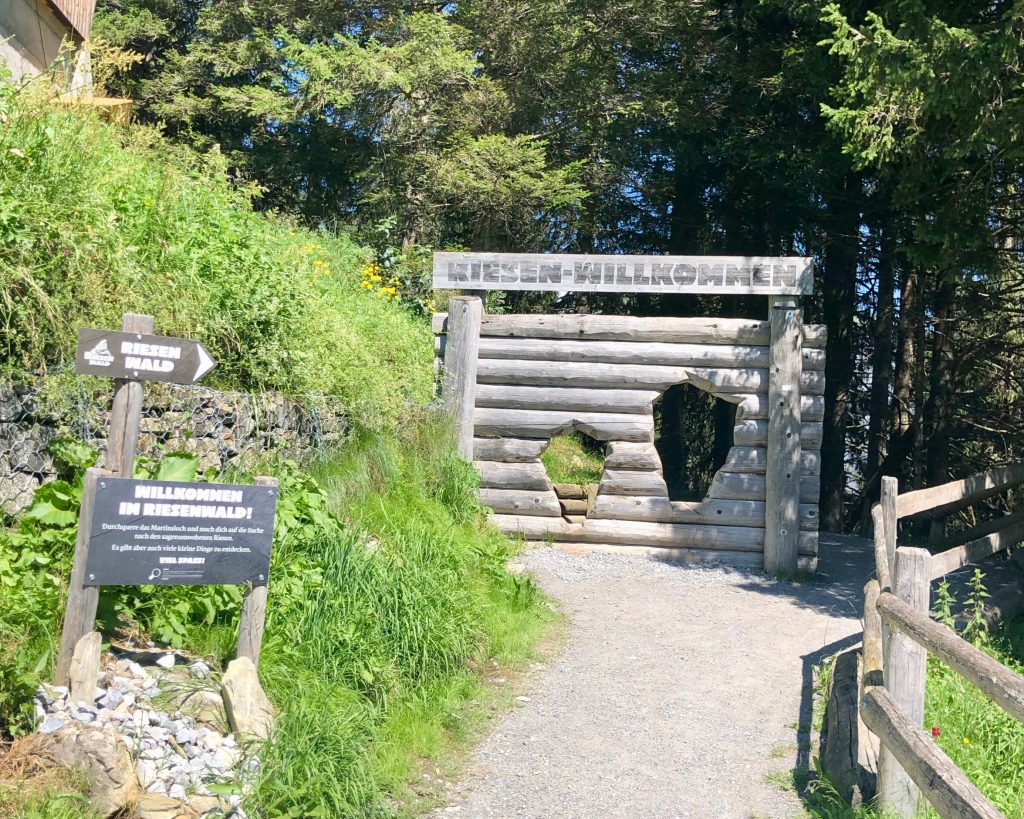
Look back at trail entrance
After one last look back at the trail entrance, we crossed the field and were at the gondola station in plenty of time to get our mountain carts.
Mountain Cart Ride
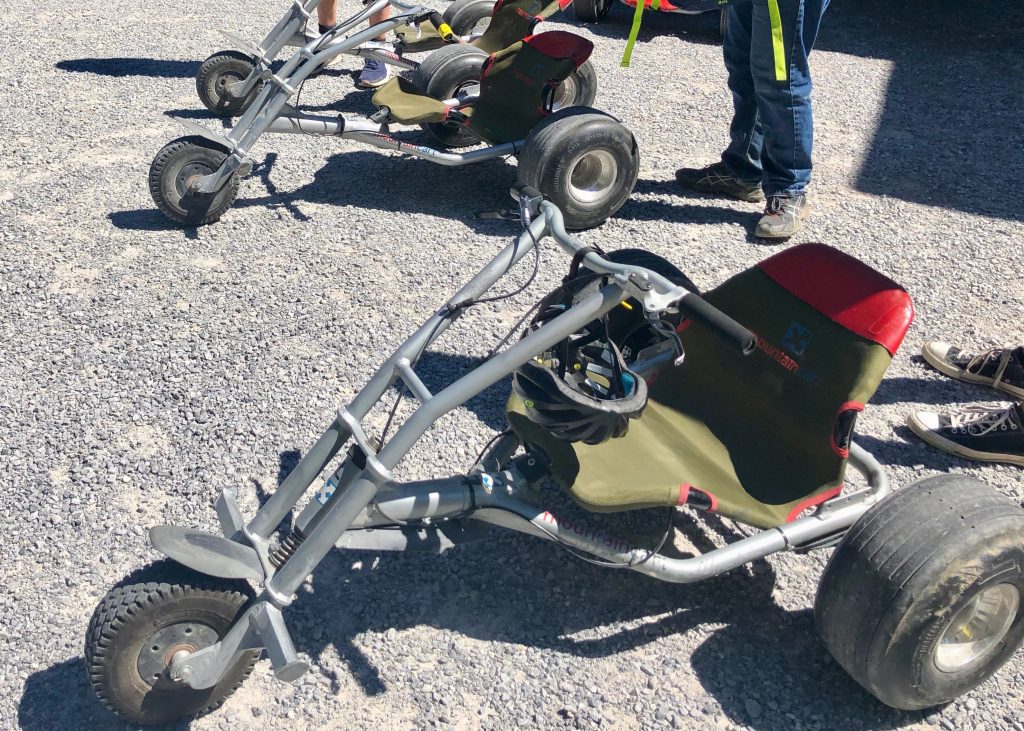
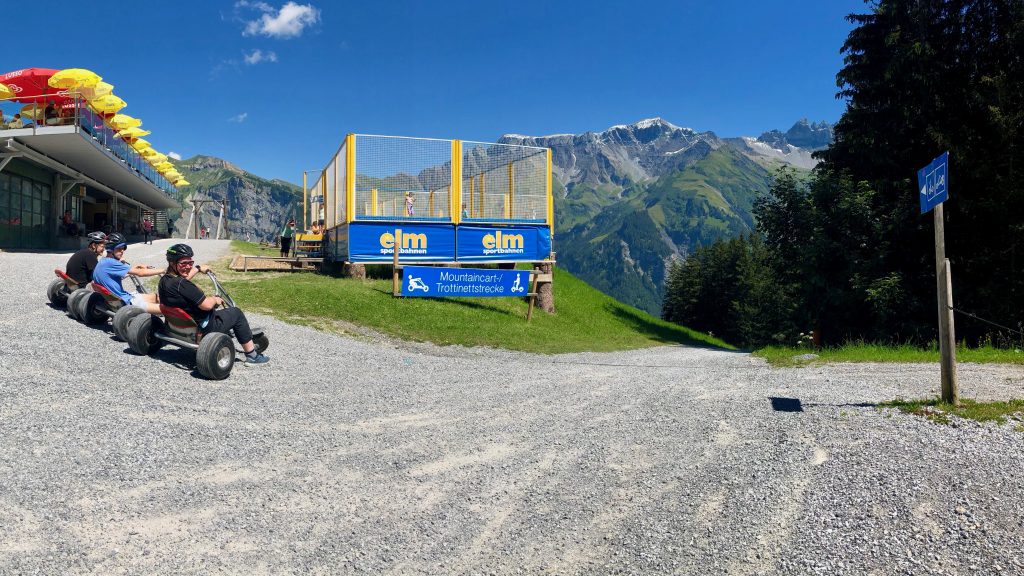
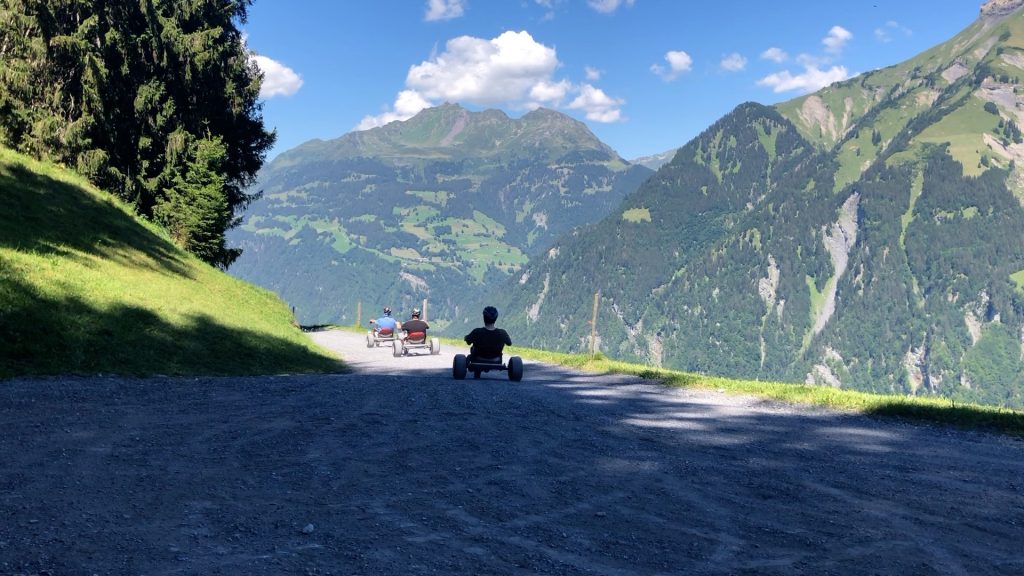
Now for the best part: the mountain cart ride down. At the gondola we picked up our mountain carts and helmets, and put our loose belongings securely into the back pack. Then, off we rolled!
The bottom of the mountain cart trail is the gondola base station. After we walked our carts over to the gondola entrance to return them, we headed home.
Although the hike didn’t work out exactly as planned, the mountain carts went exactly as planned and we had a fantastic time!



Leave a Reply